So, today we’re going to create a Malware lab utilising Mandiant’s Flare VM. We’re going to deploy this within Azure allowing us to share this resource with others in the form of a snapshot. Following this guide, you will be able to deploy your new Azure VM, prepare it for the Flare VM installation, creating and publish the snapshot for your team. So let’s get started.
Creating a new VM
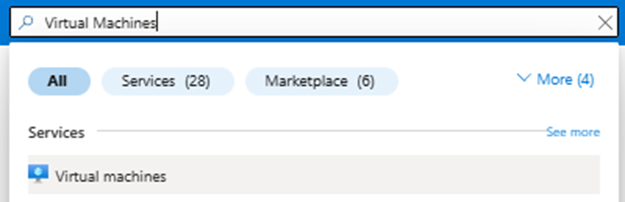
To begin, login to your Azure portal and navigate to Virtual Machines.
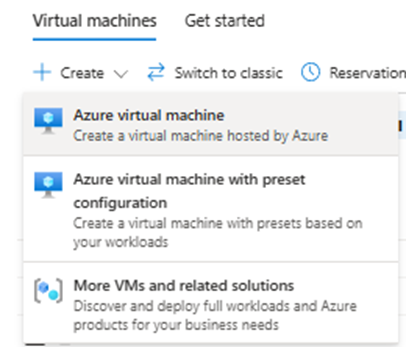
Then Create > Azure Virtual Machine
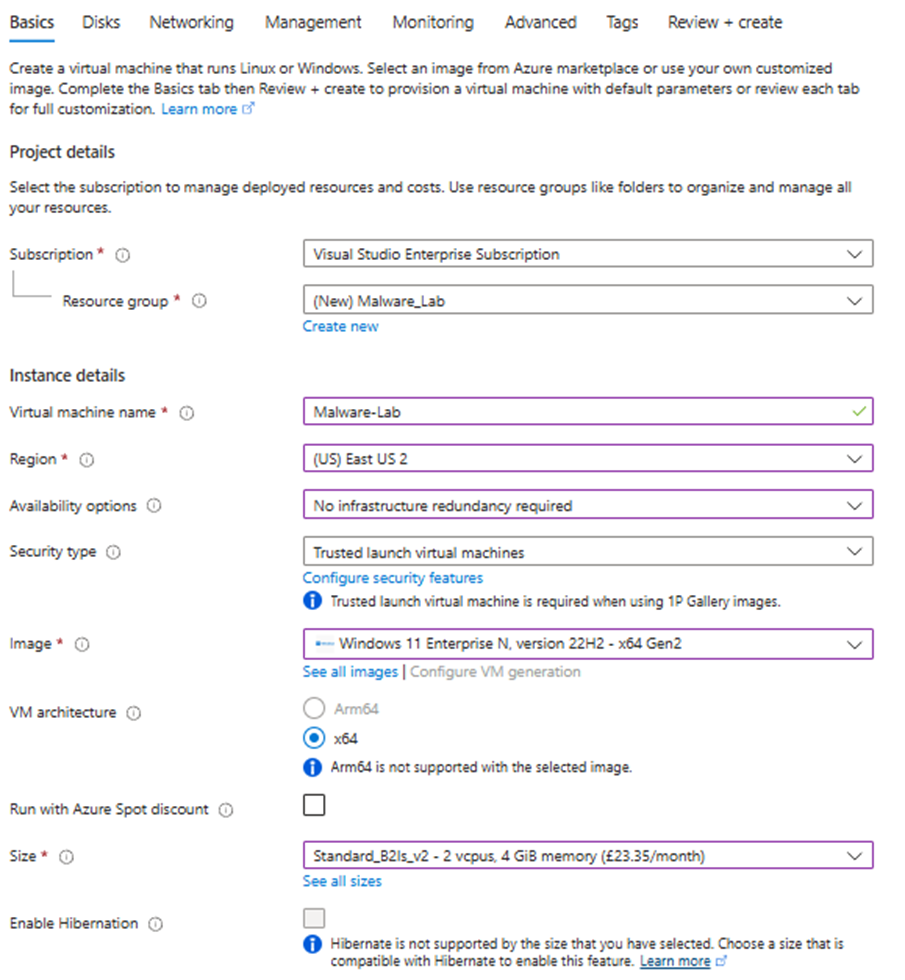
Create a new Resource Group, name your machine, select your region, define availability and select your image, before finally selecting the hardware allocation (Size).
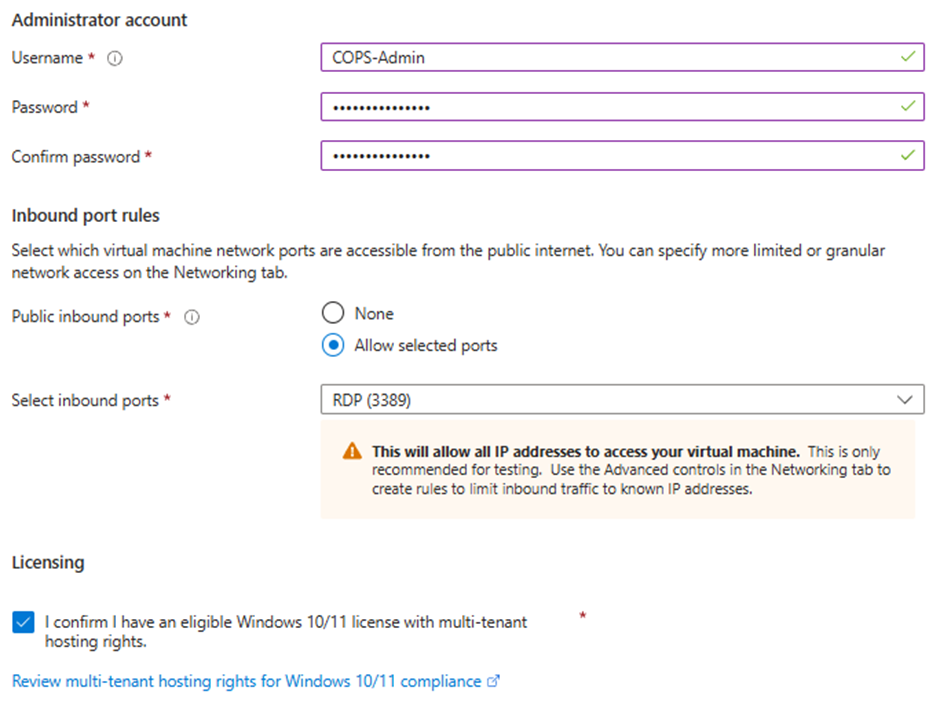
Ensure RDP is enabled for initial access, and you have configured your admin account.
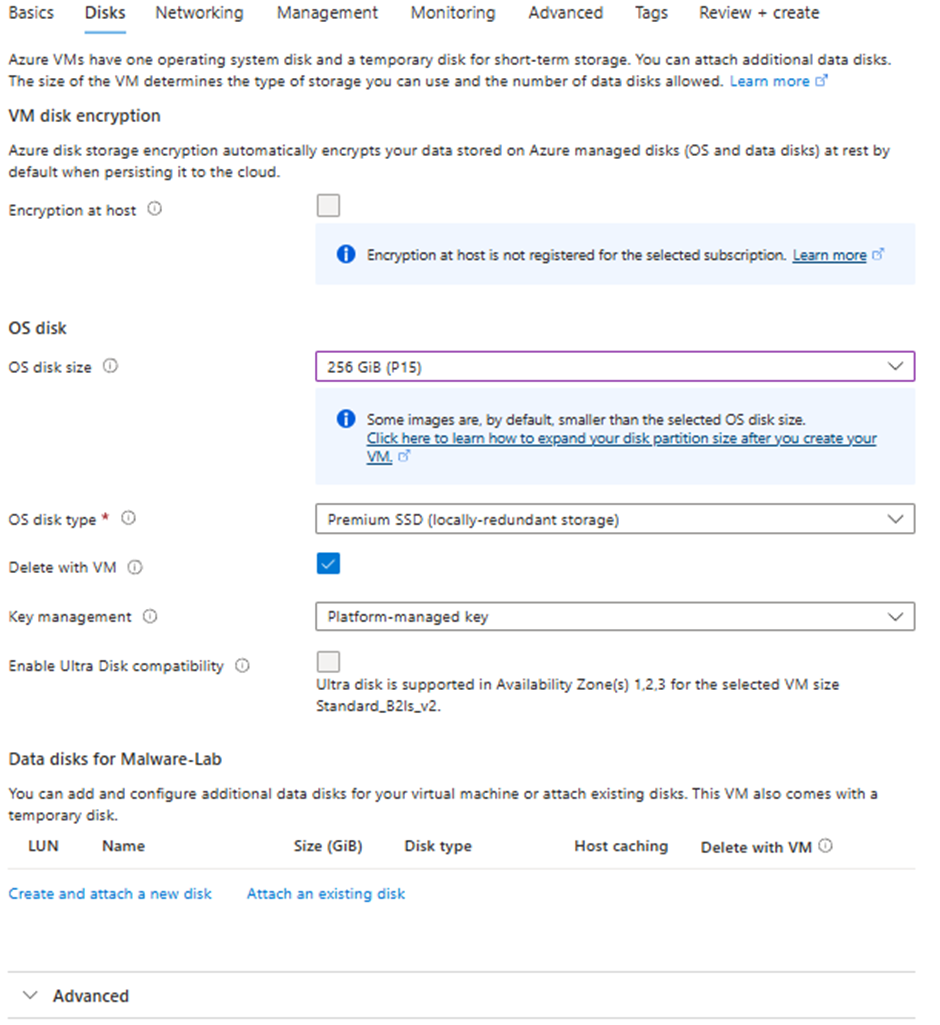
Review Disk configuration ensuring you have a minimum of 200GB storage, this is to facilitate future installations on the machine.
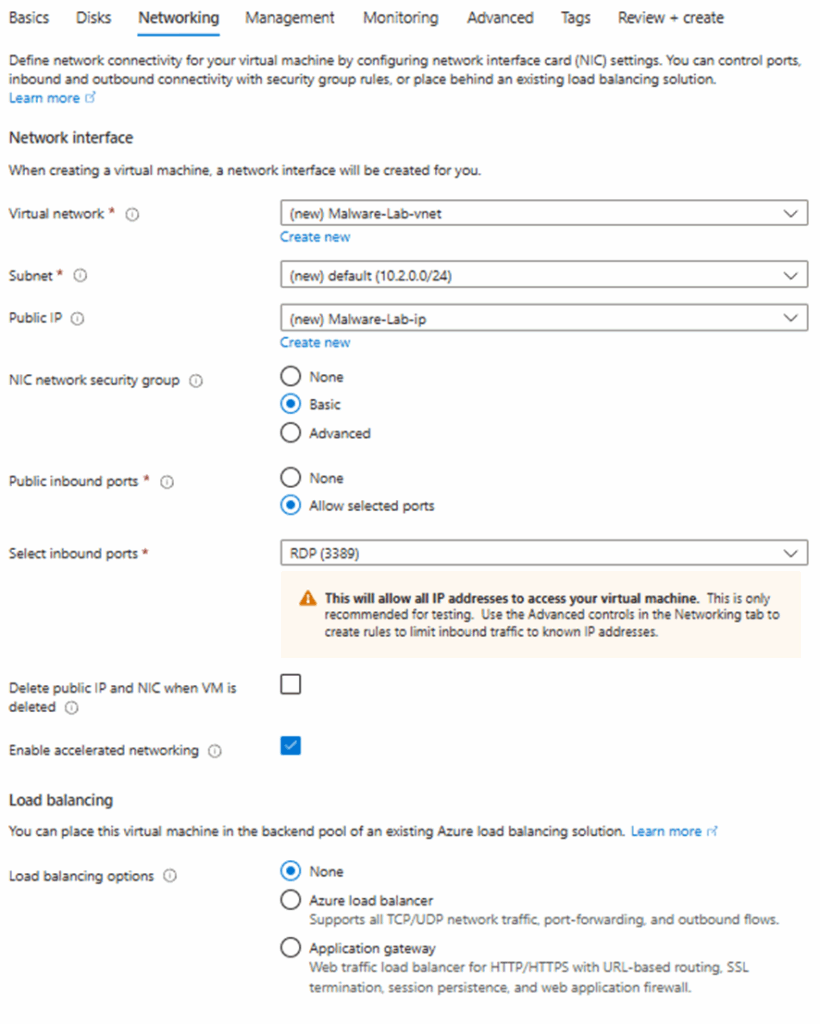
Check Networking configuration.
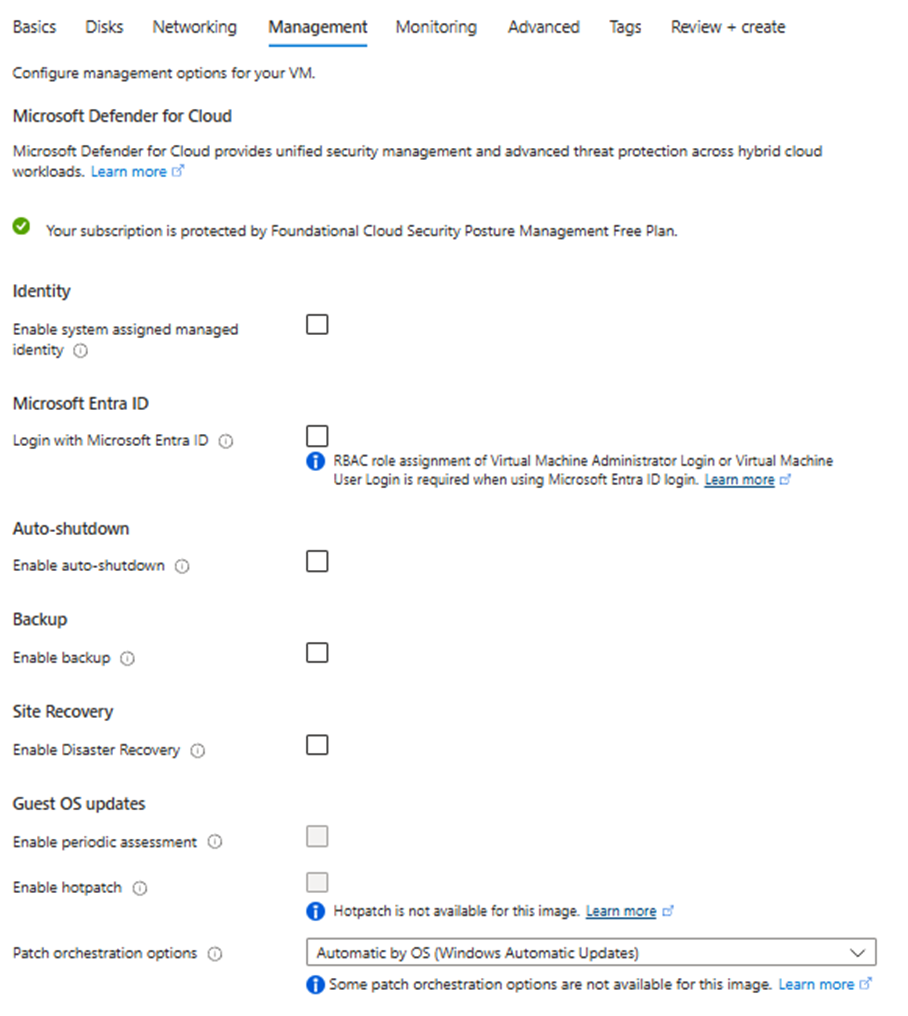
Disable Auto Shutdown
No changes to Monitoring.

Leave the Advanced section unchanged.

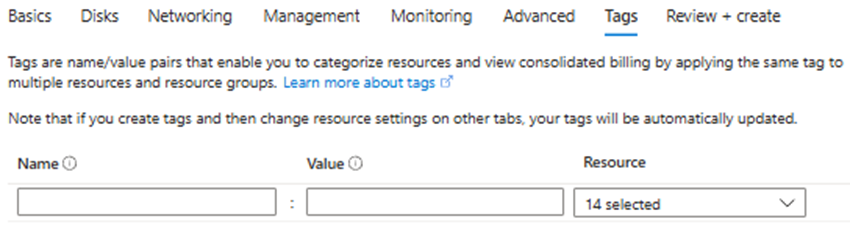
No modifications to the Tags tab.
Finally, review & create your VM.
Now we have the foundation for our malware lab.
Configure Windows Environment.
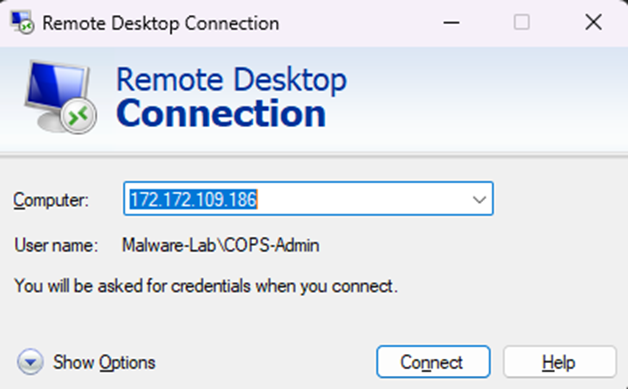
Login using RDP.
Log into your machine and finish setting up windows, I disabled all the experience features on first logon.
**An optional step is to run windows updates up to current releases. I have chosen to remain with the original image state.**
We’re now ready to disable Windows Defender, which is required for the nature of this machine.
To achieve this, we need to access our machine in Safe mode, this can be tricky within Azure as many of the features we can use to connect to our machine are not accessible when booting in this state.
To get over this hurdle, we turn to a custom binary written by @am. Reference: Microsoft “Defender Nuke Service” (Via Safe Mode) – Blog.CyberOps.Team_
To achieve our goal of disabling Microsoft Defender, we’re going to create a service which will be enabled to run within safe mode, execute the custom binary which will make changes to the Defender related registry keys, before restoring the machine back to normal boot.
For this to work, there are some requirements.
- The user account must be called “admin”
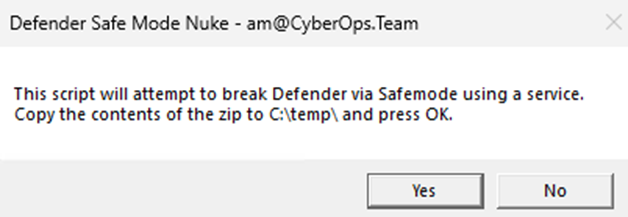
- The contents of the zip need to be placed within c:\temp\
- You need to have local admin rights on the machine
So, lets address the first requirement by making the local admin account and placing it into the local administrators group.
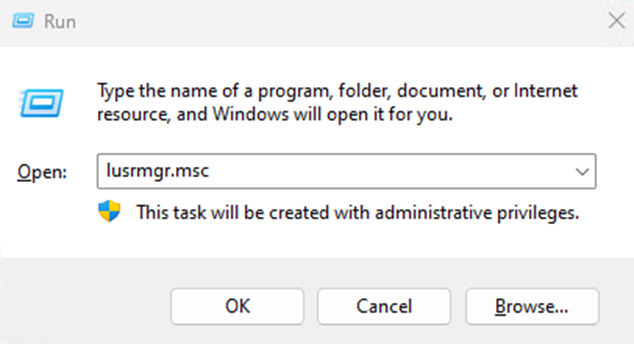
Press CTRL + R and enter lusrmgr.msc.
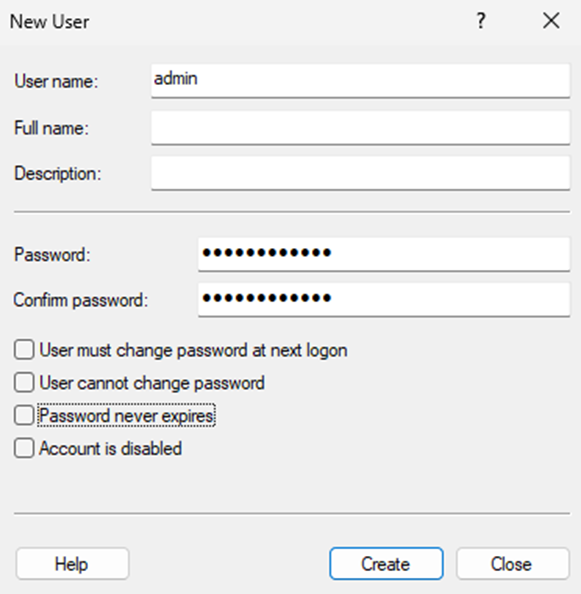
Right click the users group and select ‘Create new user’
Enter the name admin as required and provide a password, finally untick “User must change password at next logon”
Then press ‘Create’
Now we want to add our user to the local administrators group.
Right click on our new admin user, select properties and navigate to the Member Of tab. Enter the name Administrators and select Check Names.
Click OK, Apply then finally ok.
Our new admin user is now setup and ready to go, we must now disable the current active admin account we’re currently using before we proceed.
Right click on your current user and select properties, then tick the Account is Disabled field. Press Apply then ok.
Before we log off this user account, lets first download the zip file containing the script & binary.
https://blog.cyberops.team/wp-content/uploads/2025/04/Defender-Nuke-Service.zip
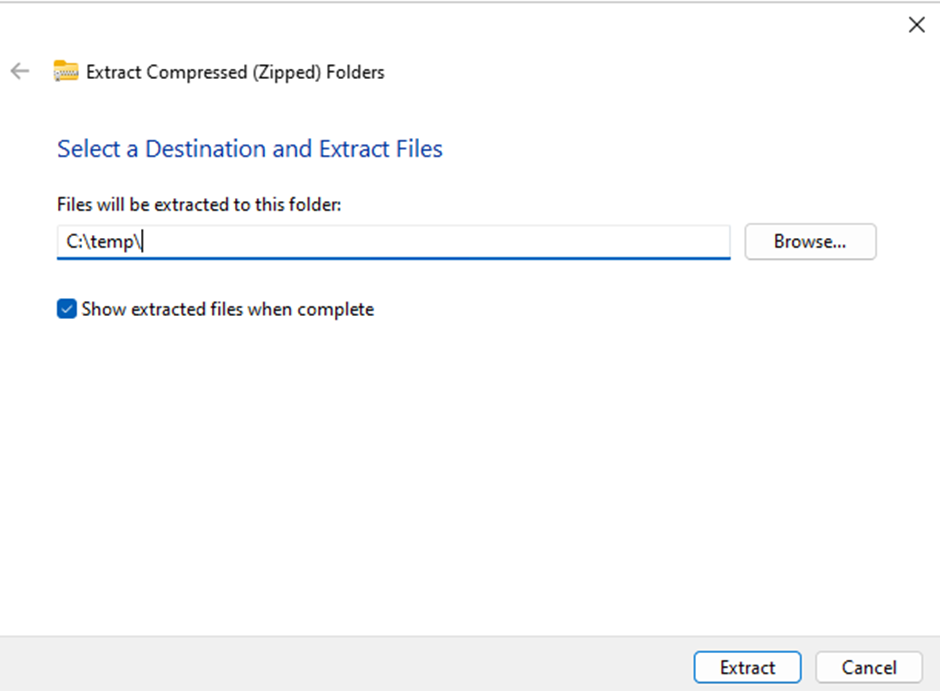
Once downloaded we want to extract the contents of the zip file into C:\temp\
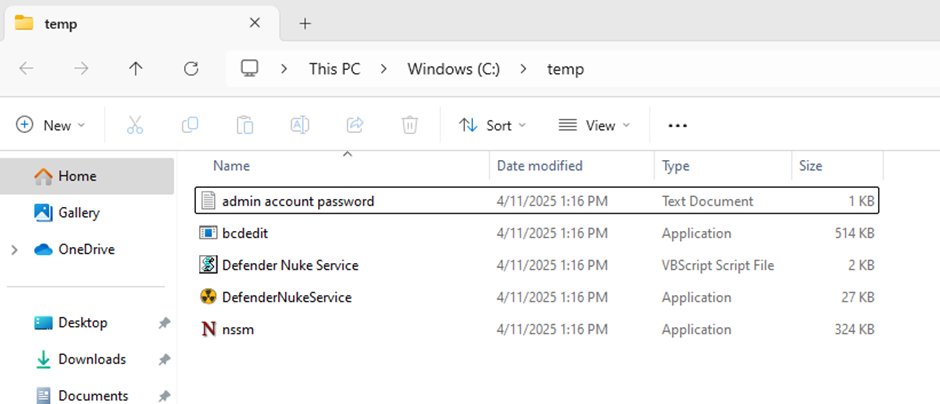
Now the files are positioned ready for the actions.
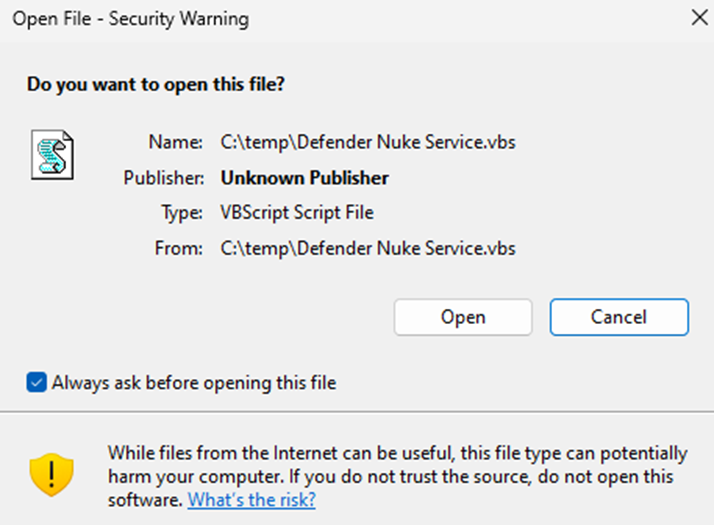
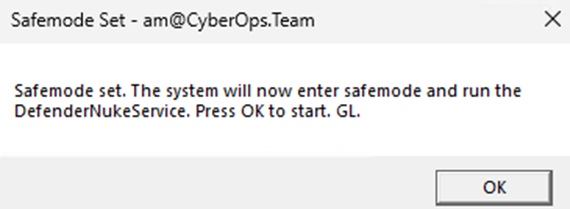
Select and execute the VBS file. You will be presented with a warning around using VBS files, then you will be prompted about the action you’re taking which will attempt to break Microsoft Defender. Proceed through these prompts until the machine restarts. The script will perform its actions and reboot the machine into safe mode. Leave the machine for a minute whilst the newly created service performs its actions in safe mode and brings the machine back up in normal boot.
Rember, the account you’re currently using will now be disabled, you will need to login with the new created admin account upon reconnection via RDP.
Below is an overview of what it happening once you execute the VBS file, take note of the admin account password as the account will be modified from what you originally set when creating the account.
- Removes the password on the account “admin”
- Creates a service using NSSM called “DefenderNukeService” using DefenderNukeServices.exe
- Adds a registry key entry to boot service in safe mode
- Sets the machine into safemode and reboots
- Once in safemode the service DefenderNukeService starts DefenderNukeServices.exe
- Defenders registry keys are modified
- Bootmode is set back to normal
- Reset the password on the account “admin” to hj7gdn@!x
- Removes the registry key entry for the service to start in safe mode
- Stops and deletes the service DefenderNukeServices
- Reboots the machine within 10 seconds
You will now be disconnected from the machine. Reconnect after 1 minute with the admin account and password listed above.
Go through the privacy settings again upon your first login, I disabled all features.
We can now verify if Defender has been successfully disabled by opening Windows Security and seeing Virus & Threat protection are in a stopped state. When pressing restart, we receive and error. Defender is no longer present on your machine!
It is now advisable to change the password of the admin user account. You may also disable the account and restore your original admin account using the steps covered previously.
I’ve opted to return to my original account.
It is advisable at this point to disable windows update, to prevent any chance of Defender rising from the dead!
- Open Start.
- Search for gpedit.msc and click the top result to launch the Local Group Policy Editor.
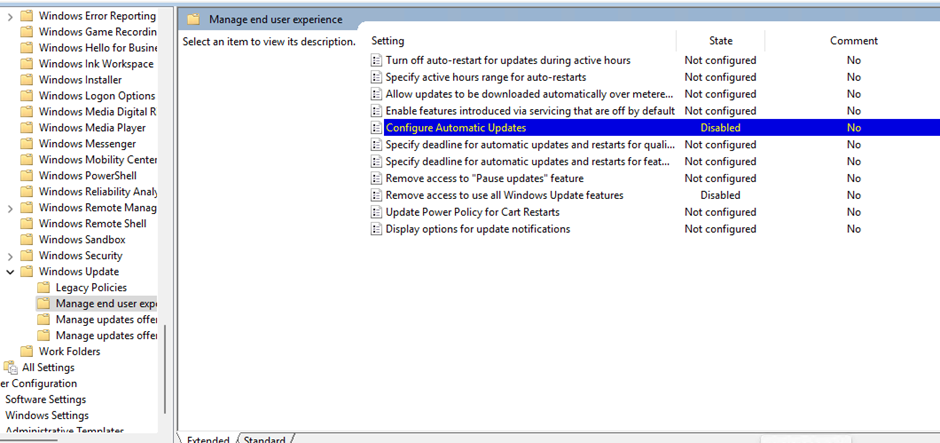
- Navigate to the following path: Computer Configuration > Administrative Templates > Windows Components > Windows Update > Manage end user experience
- Double-click the “Configure Automatic Updates” policy on the right side.
- Check Disabled > Apply
- Restart the machine
Now that is out the way, we can proceed with installing the flare VM package.
Installing Flare VM
https://github.com/mandiant/flare-vm
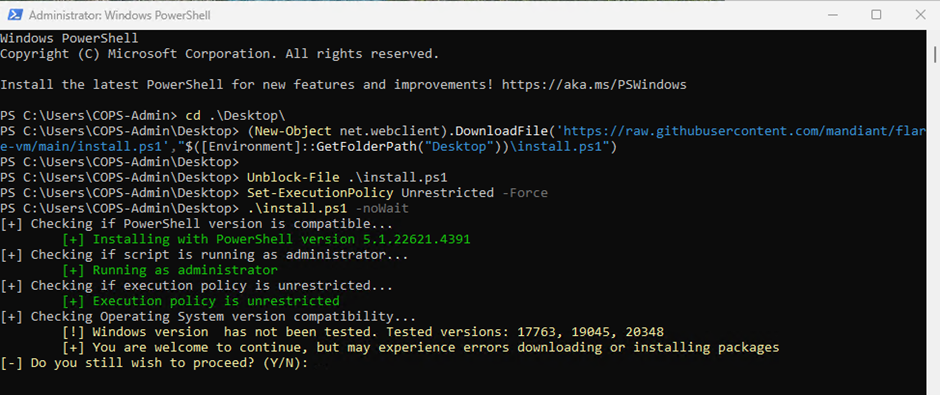
Open PowerShell as an Administrator and navigate to your Desktop
Now run the below commands:
- cd C:\Users\<USER>\Desktop\
- (New-Object net.webclient).DownloadFile(‘https://raw.githubusercontent.com/mandiant/flare-vm/main/install.ps1’,”$([Environment]::GetFolderPath(“Desktop”))\install.ps1″)
- Unblock-File .\install.ps1
- Set-ExecutionPolicy Unrestricted -Force
- .\install.ps1 -noWait
You may get a warning regarding the Operating System compatibility; type Y and press Enter.
Whilst performing the checks, it will ask if you have created a Snapshot of the VM prior to install, it is advisable to do this, however I will proceed without and perform this step later. Press Y to continue
You will then be prompted for your admin password, type in your password and press Enter.

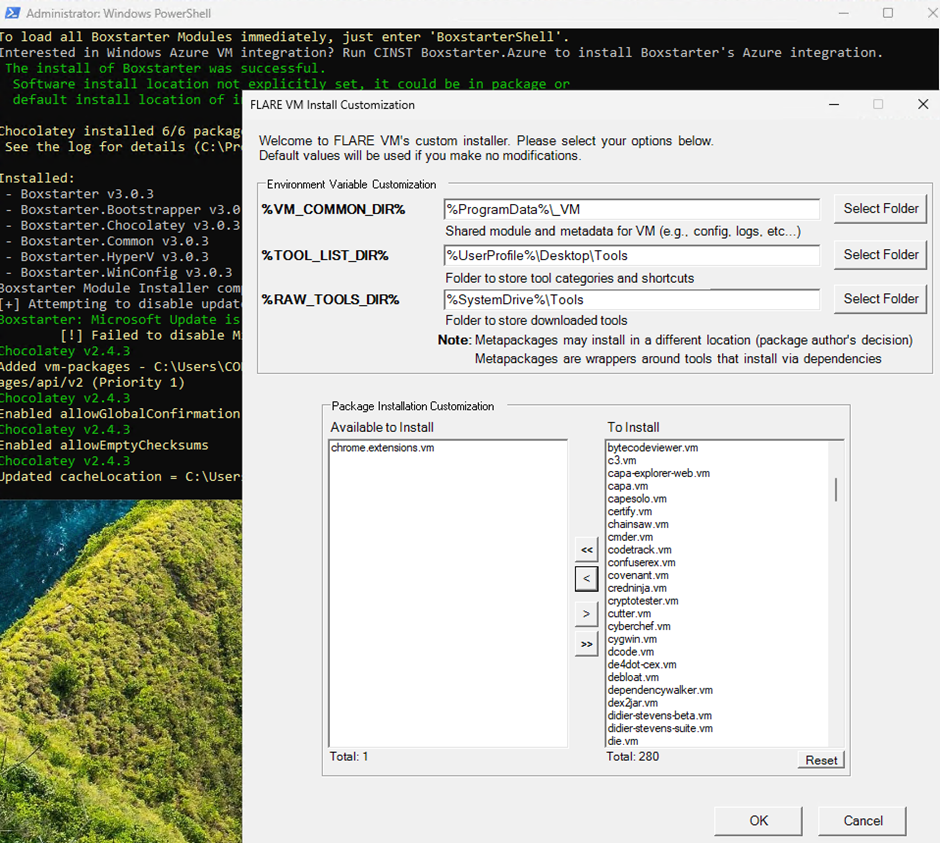
When the process finishes you should be presented with the Flare VM Install GUI. Here you can select the type of install you want by selecting the various packages available. In this example, I have opted to install all but the chrome.extension.vm. Make your selections and press OK.
This part of the process can take several hours, depending on how many packages you selected.
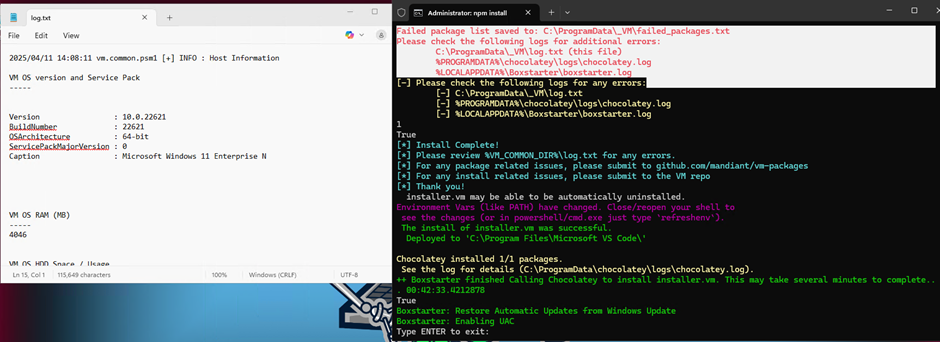
The process will reboot your machine several times, when its finished you will be prompted with a config file.
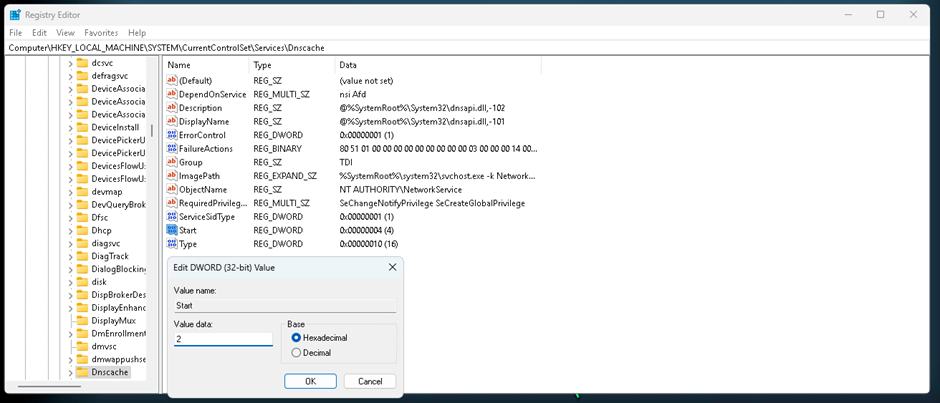
Once the install has finished, BEFORE restarting the machine you must make an adjustment to the registry as per the reported bug. Failing to do so will result in no internet access to the machine, rendering it useless being hosted in Azure.
https://github.com/mandiant/flare-vm/issues/659
Open up regedit and navigate to HKLM:\SYSTEM\CurrentControlSet\services\Dnscache
Change the Key Start to 2.
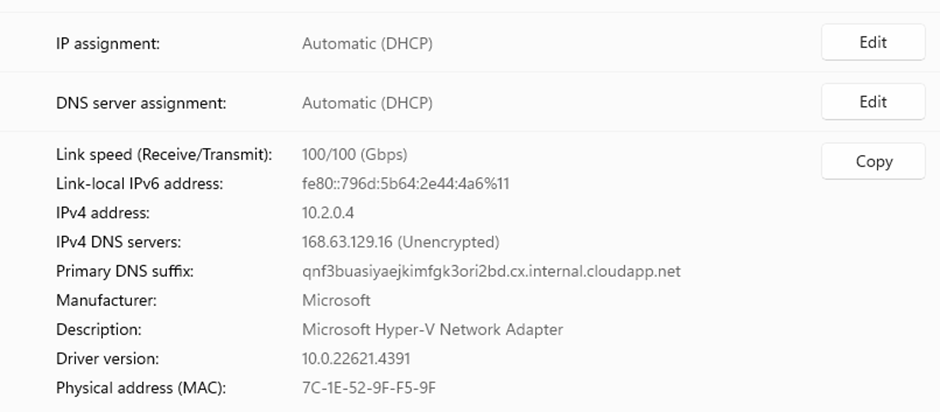
Once set double check your DNS Settings are set correctly before then restarting your machine.
Now you can restart your machine if you wish.
There are some optional adjustments you can make to the user experience, we decided to use the below.
- Uninstall any Microsoft Bloatware Apps
- Microsoft Copilot, Xbox etc
- Uninstall OneDrive
- Install any other applications you need. Ninite is a good resource for that
- Return the old right click in Windows 11
- Set up Burp suite with Firefox
- Install and apply o&o shutup10
- Install Microsoft Windows Office
- Install Screen2Gif
- Clear Web Browser History & Event Logs
- Enable Linux Subsystem
- wsl –install
- wsl –install -d Ubuntu-22.04
- wsl –install -d kali-linux
- Change Visual Effects for “Best Performance”
With the installation of the Flare VM complete. We can now look at creating a snapshot, allowing us to spin up the environment in minutes in the future.
Creating the Snapshot
Navigate to snapshots within the Azure Portal.
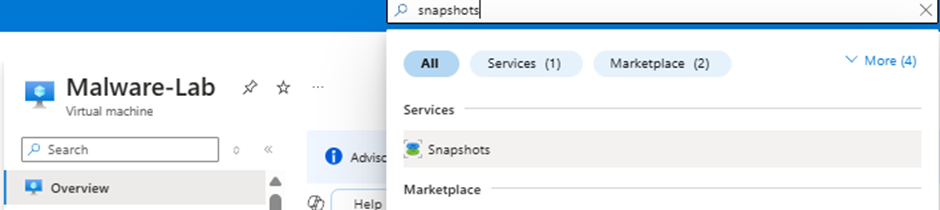
Press ‘Create Snapshot’
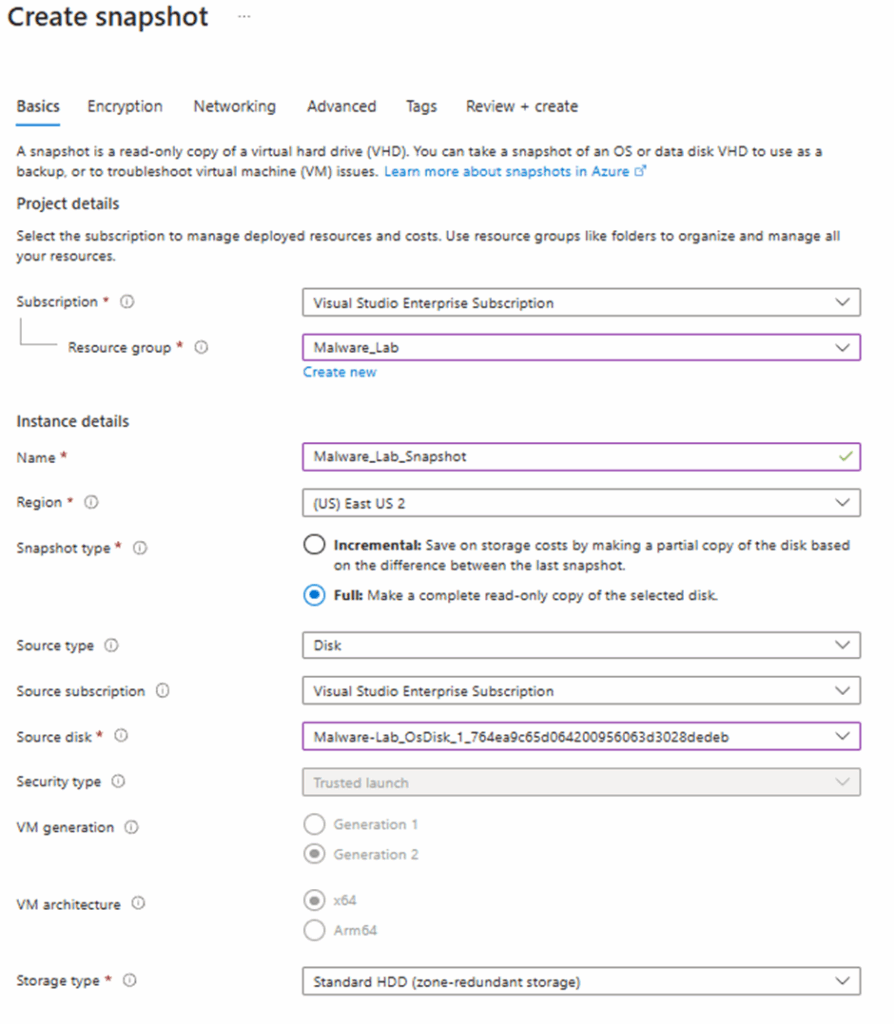
You will now be taken through the Snapshot creation process. Name your snapshot and choose your region. I have chosen to make a full snapshot as I intend to share this image with others, but you may only want an incremental image to save on storage space. Select Disk as Source Type and choose which VM you want to create the image from.
Proceed straight to Review + Create as we don’t need to make any other adjustments on the remaining tabs. Then press create once validation has completed.
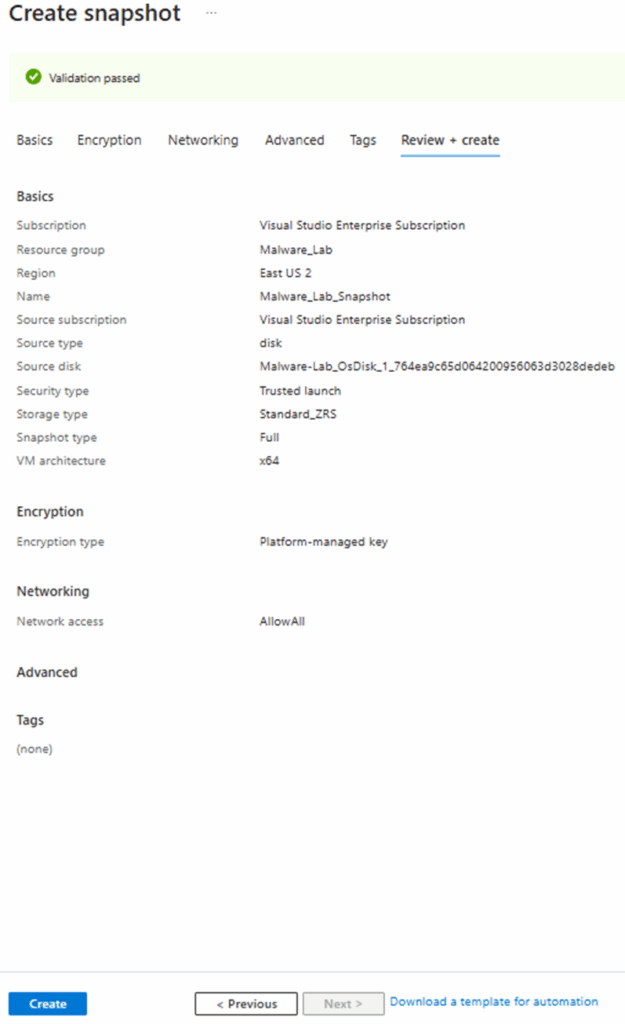
Your image is now complete.
Sharing the VM
I now want to be able to share my image with others, navigate through the azure portal and select Azure Compute Galleries.
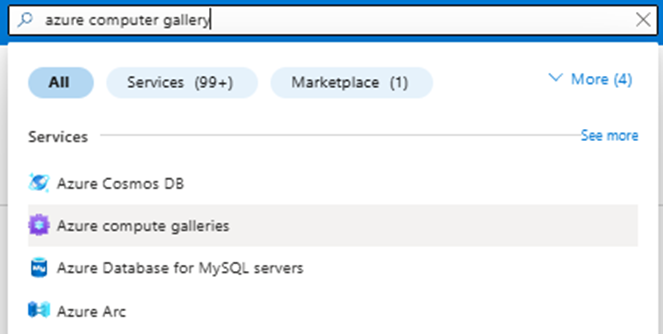
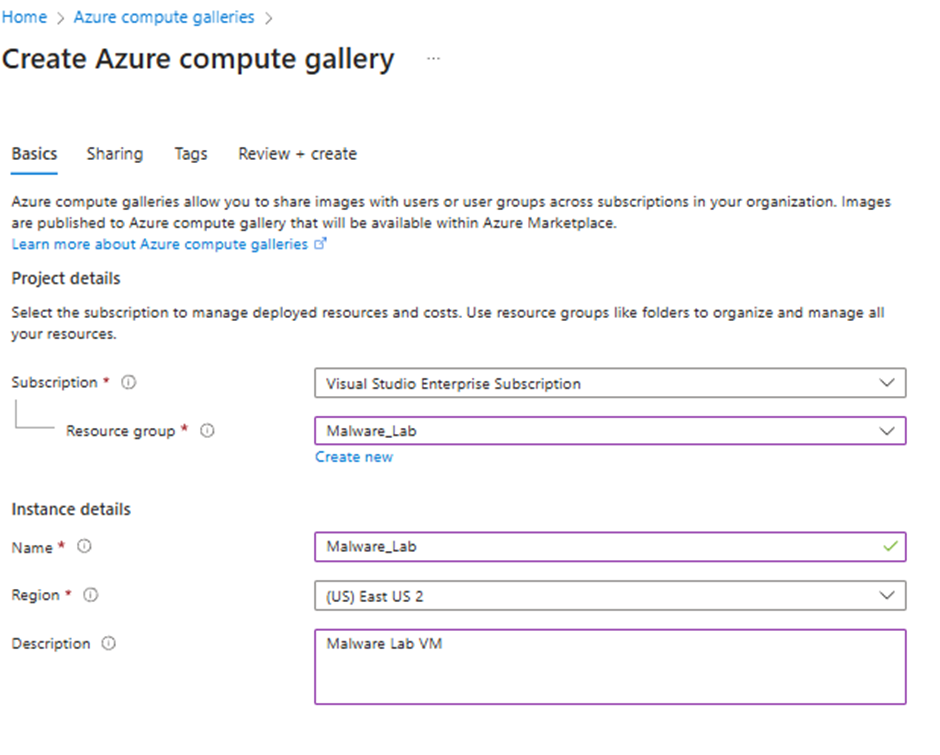
Click ‘Create’ to start the process of creating your new computer gallery.
Select the Resource group and fill out the required fields
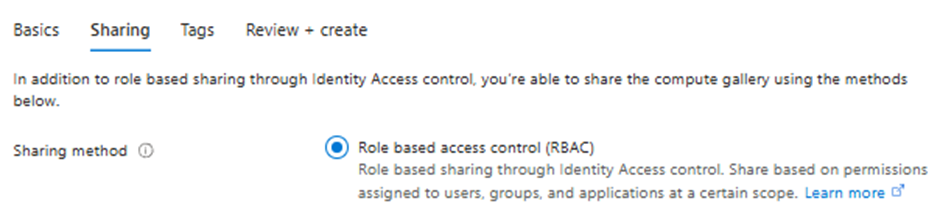
Move to the sharing tab and ensure RBAC sharing is selected.
Now we can progress to Review + Create and press Create.
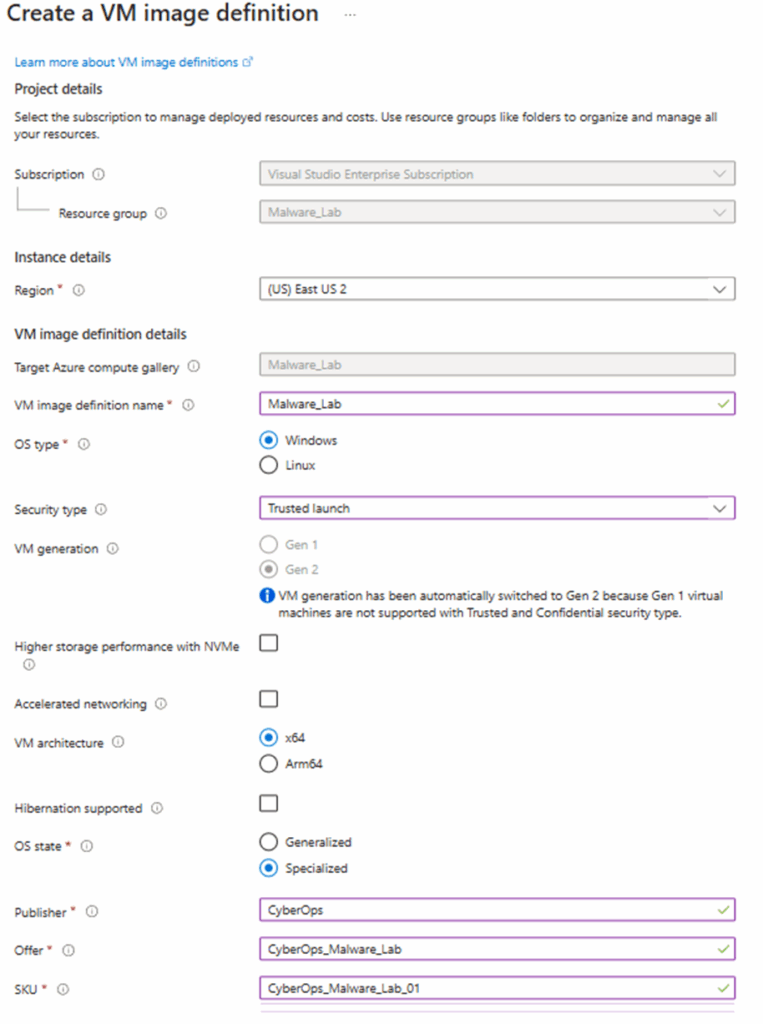
Once complete, we will now look to add a VM image definition by selecting Add > VM image definition.

Now fill out the basics page as required. You must ensure the OS state is set to ‘Specialized’, and any other fields you can adjust must match your original image.
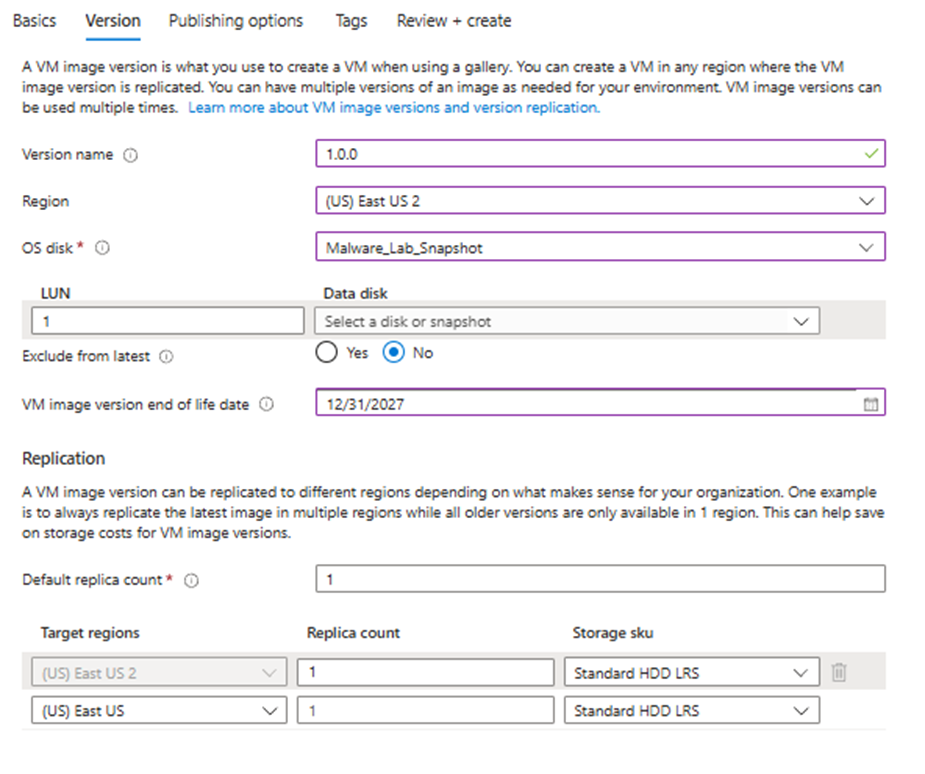
Now we can progress to the version tab, we must ensure we follow the x.x.x format here. Select your region and choose the snapshot you’ve taken as the Disk Image. You can also define an image expiry here, in the format MM/DD/YYYY.
Now we can move directly to Review + Create and press Create once validation is passed. Once deployment is complete, our gallery is ready with our image.
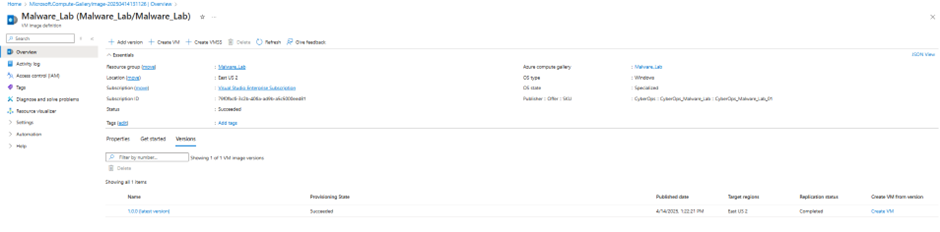
Now if we want to share this gallery with others.
Navigate to IAM on the left navigation panel, Select Roles and Add Role Assignment.
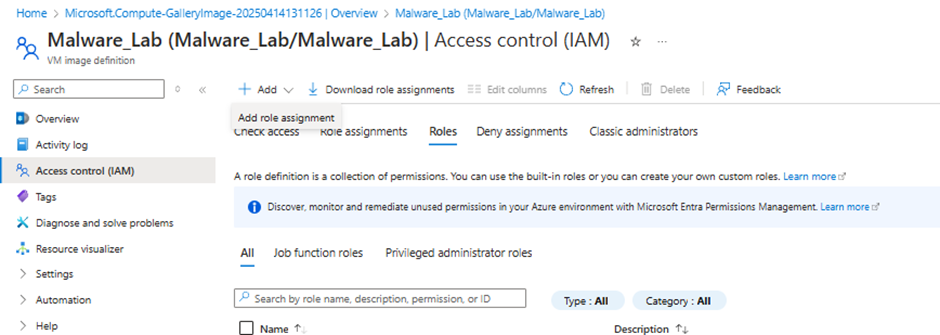
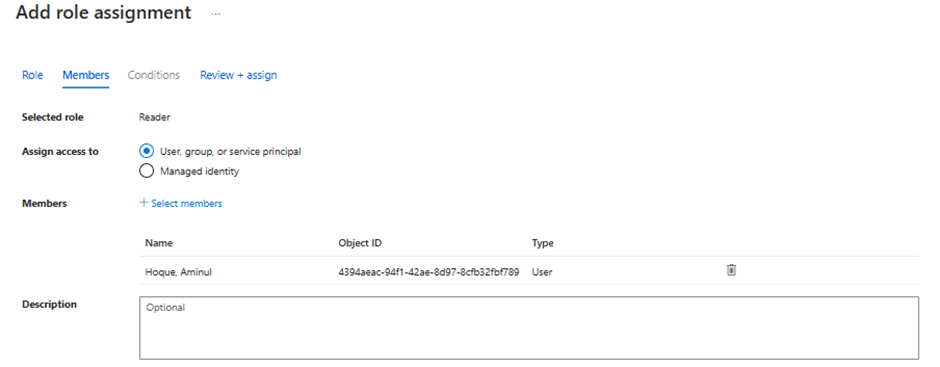
Select Reader.

Leave Assign Access to as User, Group or Service Principal. Click to add new members and select the users you wish to give access. This function appears as a side bar on the right.
Now proceed to Review + Assign.
You can check to make sure the users you have defined now have access at the level you selected by reviewing the ‘Role Assignments’ tab.
And that’s it! You have now created an Azure VM, built out a full malware lab, created a snapshot and hosted it to be shared with your team.